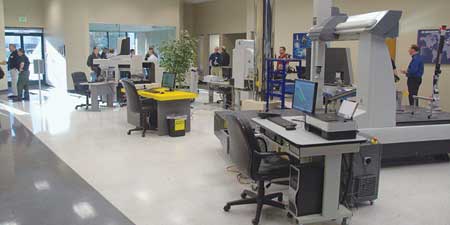
Hexagon Showroom

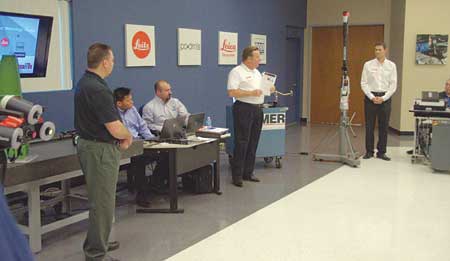
Phillips Corporation Federal Division representatives with Hexagon representatives demonstrating the Hexagon Romer Arm.

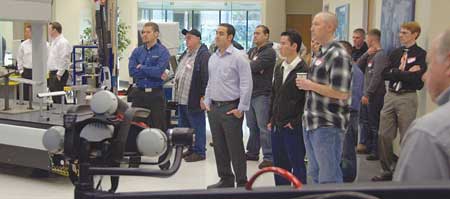
Military personnel watching demonstrations of Hexagon CMMs and the Romer Arm.
Hexagon and Phillips Corporation Federal Division presented "Military Day - Reverse Engineering" seminar using a Hexagon Romer Arm. The presentation given by David Price, Head of Metrology, Fleet Readiness Center Southwest and representatives from Phillips Corporation Federal Division, focused on the military's need to rebuild older legacy military equipment to extend its life. When repairing this legacy equipment, there are no part prints to reference. Instead of spending possibly weeks to "hand make" a part new reverse engineering technologies can be used.
During the presentation the term "Legacy Aircraft" was explained using the Navy as an example. The Navy has new aircraft coming in all of the time with OEM support and maintenance. Legacy Aircraft is aircraft that is no longer supported by OEM. Engineering data and complete responsibility for the aircraft is transferred to the Navy for maintenance and repair.
"We had a successful 'Military Day - Reverse Engineering' seminar at the Hexagon Metrology Tech Center with around 50 attendees from the Army, Navy, Air Force and Marines. Eight models of Hexagon equipment were demonstrated. Attendees seemed most excited about the Hexagon 7525SI Romer Arm with probing and non-contact laser scanning and the new Shop Floor 4.5.4 CMM," said a Phillips spokesperson.
A Hexagon Romer Arm 7525SI was demonstrated using both a touch probe and non-contact laser scanner. The results are an immediate transfer of legacy geometry to any machine in the shop to make the repair parts. An example of some of the possibilities are:
- A .dxf file can be sent directly to an OMAX Waterjet controller and a part can be made immediately,
- An .stl file can be sent to a 3-D printer to immediately make a part,
- An .iges file can be sent directly to a CAD/CAM system and the geometry can be immediately processed to run on a Haas machine.
These transfers were demonstrated at the seminar using the Hexagon Romer Arm and the OMAX waterjet, the 3-D printer and the Haas machine. "The results of reverse engineering are reducing the turnaround time to get legacy equipment back into action and saving millions of dollars for the taxpayers and the government," said the spokesperson.
The seminar focused on utilizing metrology and coordinate measuring machines (CMMs) for collection of data for uses such as:
Small Scale 0-4 Ft. CMM
- Corrosion Mapping and Ultra High Accuracy (UHA).
- Laser Scanning Head on CMM
Medium Scale 2-15 Ft.
(CMM Limited by its Size)
- Component Inspection and Model Verification (HA).
- Portable CMM / Scanning
Large Scale 2-200 Ft. Coupled
systems (Laser Tracker & ARM combo)
- Tooling inspection/certification and Aircraft Inspection (H-MA).
- Laser Tracker
- Spherical Scanner
"The current state of manufacturing today is defined via a digital 3D solid model. This model is what defines the part. This design definition is derived from the 2D blueprint so the process utilized to generate the solid model needs to be controlled by engineering, because it will provide the controls and the risk reduction methodologies required by engineering," said the spokesperson.
For more information contact:
Phillips Corporation-Federal Div.
7390 Coca Cola Drive
Columbia, MD 21076
410-564-2900
www.phillipsfederal.com
Hexagon Metrology, Inc.
1558 Todd Farm Drive
Elgin, IL 60123
Direct: 847-214-5263
Main: 847-931-0100
www.hexagonmetrology.us