


Digital Optical Comparator
March 1, 2019
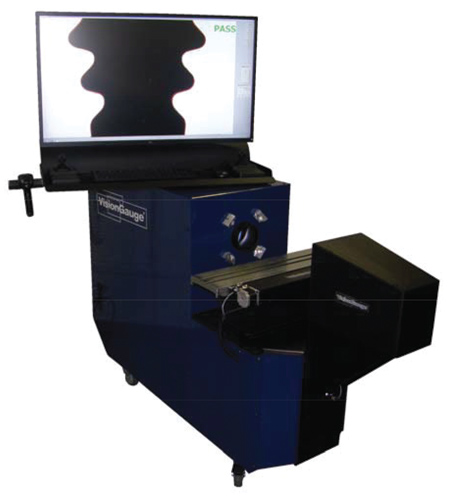
Horizontal configuration
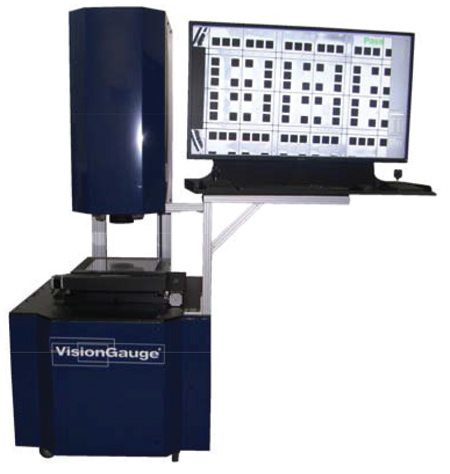
Vertical configuration
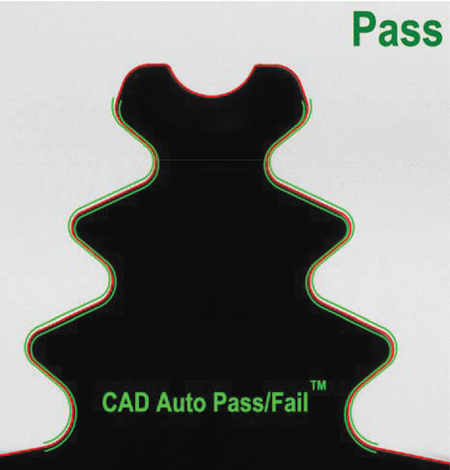
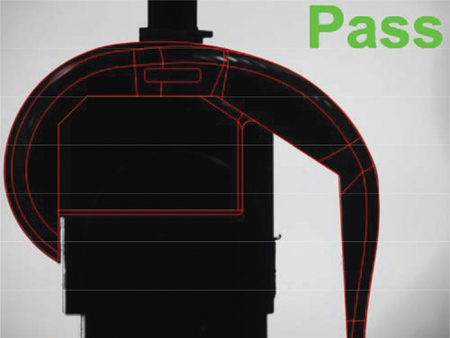
The Auto Pass/Fail tool eliminates operator subjectivity
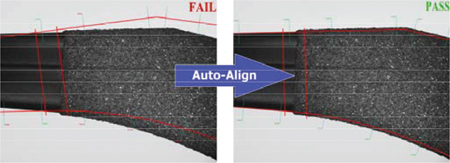
VisionGauge's proprietary CAD Auto-Align tool automatically aligns the CAD data to the part, almost instantly, along one or multiple user-specified datums or by doing an overall best-fit.

Methods Machine Tools offers its 500 Series Vision Gauge optical comparator. VisionGauge digital optical comparators from Methods are complete, ready-to-run Windows-based solutions and are delivered network-ready. Through their barcode reader and joystick interface, these systems are intuitive.
Features and benefits of the 500 Series comparator:
- Accurate
- Fast and provides high throughput
- Has patented CAD Auto-Align and CAD Auto Pass/Fail tools
- Easy to use
- Robust and shop-floor-ready
- Can easily carry out fully-automated measurements
- Works directly with the CAD data so that no overlay or template is needed
- Can automatically compute and display the part's deviation from nominal and compare to bi-directional tolerances
- Can collect full inspection and measurement data and automatically create reports including digital images and records with the CAD overlay and the deviations from nominal, measurements, statistics and more
- Produce a high-resolution high-contrast image with sharp edge profiles
- Large depth of field
- Power-Focus and Auto-Focus
- Long working distance (i.e. more clearance between the part and the lens)
- Allows users to compare a part to its CAD data beyond the optical field-of-view (because the CAD data tracks the part and follows the stage motion)
- All-LED illumination (for stable and repeatable illumination conditions, stable and repeatable results, low heat, low power consumption and no bulbs to change)
- Fully automated: no operator-dependent variation
- Little or no programming
- High resolution monitor
- Large field-of-view
- Intuitive software interface
- Powerful and widely applicable.
Vision Gauge s are available in both horizontal and vertical configurations. The comparators are available in industry standard 5X, 10X, 20X, 50X and 100X optical configurations. They are available in both single and multi-mag configuration and with transmitted (i.e. back) and / or reflected (i.e. front) illumination. All illumination is LED-based, programmable and computer-controlled.
Motorized fixtures, rotary stages and extended travels are also available. An optional high-resolution LASER module is also available for depth and height measurements.
For more information contact:
Ralph Lazarra
Methods Machine Tools, Inc.
65 Union Avenue
Sudbury, MA 01776
978-443-5388
sales@methodsmachine.com
www.methodsmachine.com
< back