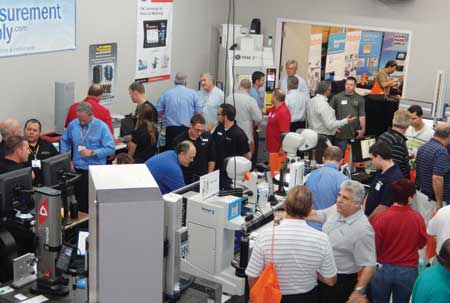
Aerial view of the Measurement Supply Show Room during the Florida C|M|I Show
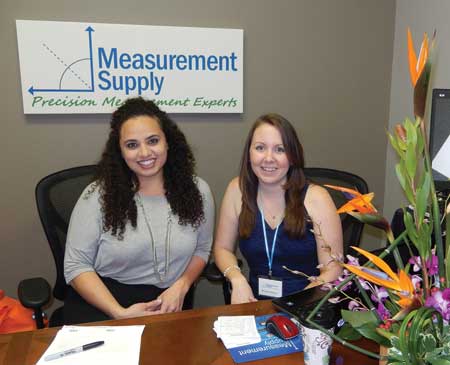
(l-r) Heather Peterika and Nicole Stepp of Measurement Supply greet guests.
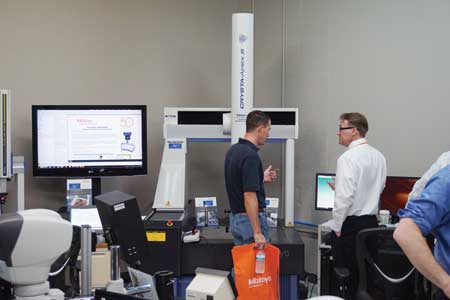
Dean Dornbaugh, Mitutoyo America Corp Application Specialist, demonstrates the Mitutoyo CRT-S776 Scanning Coordinate Measurement System and the newly released MiCAT Planner CMM/MBD programming system.
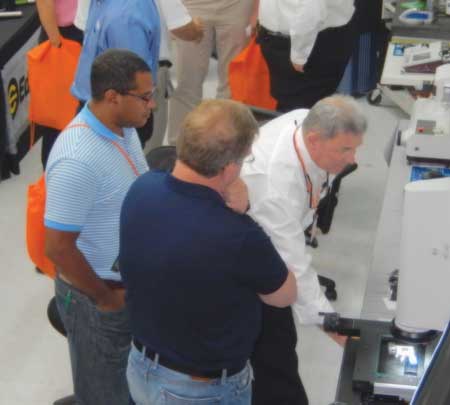
Rick Miller, Mitutoyo America Corp Application Specialist, demonstrates a Mitutoyo Quick Image Vision System with its field-of-view quick measure software.
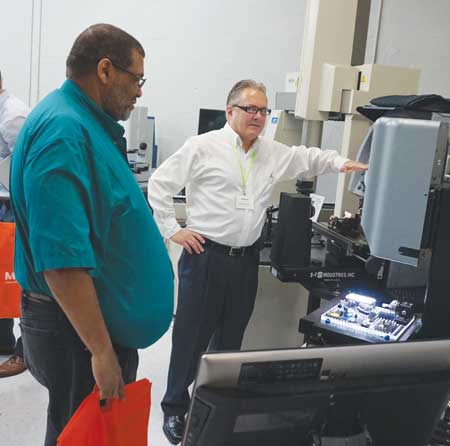
Doug Emory (right), Regional Sales Manager of ST Industries (Sherr-Tumico), demonstrates the Series 9100 CNC vision system.
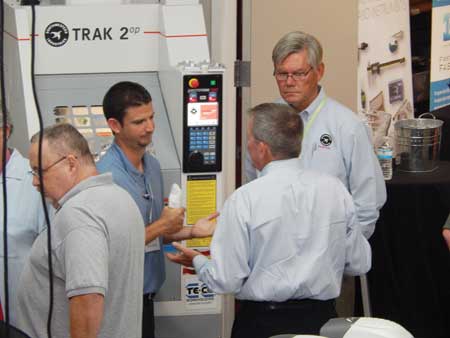
(l-r) Ricky Flores, Sales Manager of Myer Precision LLC and John Palmquist, National Sales Manager of Southwestern Industries, one of Measurement Supply's Technology Partners
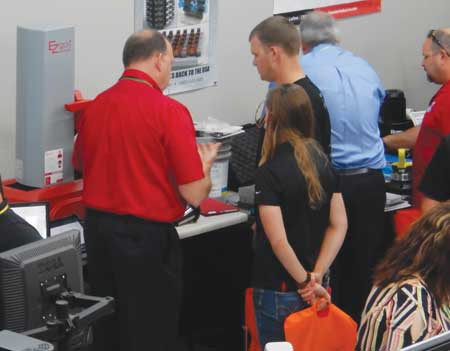
John Regulski (left), Product Manager at EZset, demonstrates the "common-sense" approach to machine tool presetting for milling and lathe tooling. The EZgo is now a permanent product in the Technical Center for customer demonstrations and evaluations.
Measurement Supply hosted its annual Open House event on May 7 at its Measurement Technology Center in Tampa, FL. In conjunction with the Open House, Measurement Supply also hosted the second annual C|M|I Show (Concept | Manufacture | Inspect). "Along with technology partners, attendees experienced a multitude of products to achieve most manufacturing disciplines required to take an initial idea to a finished, validated product," said a company spokesperson.
The Technology Center had more than 100 visitors who observed technologies from Measurement Supply's technology partners, including 3D Systems Corporation Reverse Engineering and 3D Printing Solutions; SolidWorks 3D modeling; CAMWorks Intelligent CAM solutions; the newly released TRAK 2OP, 3-axis "second operation" CNC Machine from Myer Precision Products and a comprehensive offering of machine tooling and accessories from RAM Sales and Marketing.
These varied capabilities conveyed the steps a product travels from concept to manufactured. A sample part was then distributed to a variety of more than 30 precision measurement instruments for analysis and validation (or the Inspect portion of the event). The common product was measured on a large compliment of vision systems (both manual and CNC driven), a manual Mitutoyo CRT-PM CMM, a new Mitutoyo CRT-S776 CNC CMM equipped with continuous scanning sensors, an optical comparator, hardness testers, surface finish testers, a roundness tester and microscopes along with a variety of dedicated gauges and hand measuring tools, most collecting measurement data to output SPC process data.
Many attendees brought their own parts and were able to analyze them and seek solutions for difficult measurement requirements. Others scheduled return visits to the Technology Center for more in-depth evaluations of various measurement systems.
"The positive comments from the attendees iterated that the event brought a wealth of technology to the hands of local manufacturing professionals," said Chris Sudetic, President of Measurement Supply. "It was a great venue to show not only the products we represent but also the expertise that we add to them."
The equipment on display will stay at the facility permanently for customer product evaluation and operation training.
"Since the first event we hosted last year, the Technology Center has increased its capabilities in the amount of personnel and new equipment for customer training, pre-sale evaluation and contract measurement services," said Sudetic.
For more information contact:
Nicole Stepp
Measurement Supply Company Inc.
12820 DuPont Circle
Tampa, FL 33626
888-502-0220
info@measurementsupply.com
www.measurementsupply.com