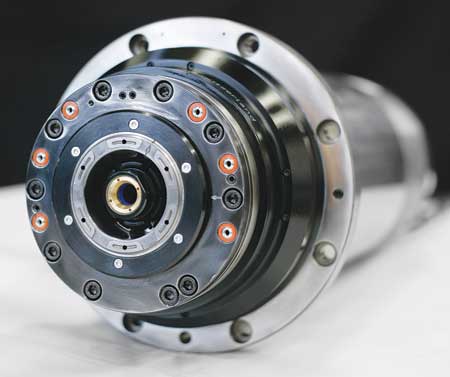
Onsite spindle services keep the spindle accurate and operating at high performance.
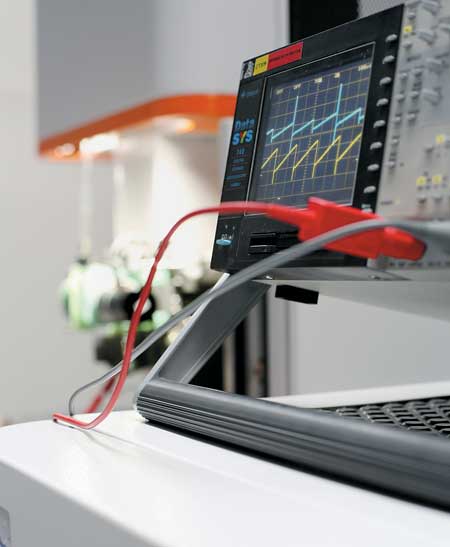
Nadcap accreditation support is a service package designed to support customers during the accreditation process.
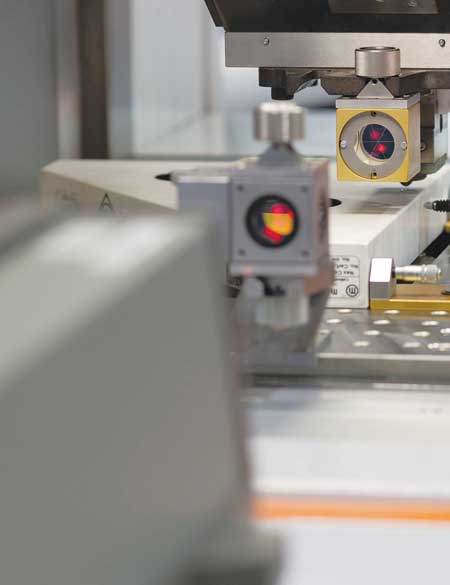
Calibration by laser interferometer provides axis accuracy.
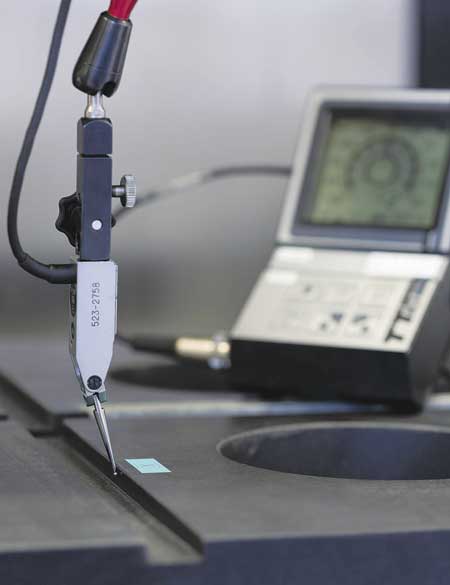
Geometrical control prevents wear on machine components.
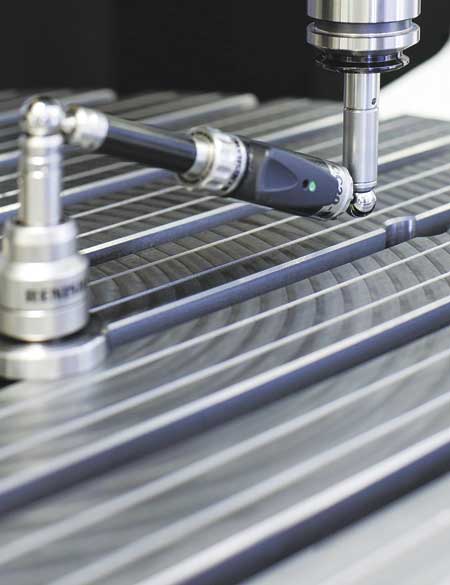
The circularity test with ballbar gauge rapidly diagnoses machine performance.
GF Machining Solutions Customer Services has introduced five new advanced preventive services aimed at helping customers extend the lifetime of their milling, EDM and laser machines. The group's services help customers anticipate deficiency, prepare for increased needs for extremely precise production and respond to changes in their workshop environment, like installation of air conditioning or collisions.
Onsite spindle services
"The spindle is a key milling machine element," said a company spokesperson. "To keep the spindle accurate and guarantee its high performance, regular maintenance and efficiency analysis are crucial. Spindle behavior is linked to events like collisions or excessive vibrations. GF Machining Solutions' vibration monitoring system controls vibrations in real time. Going even further, operating parameters like motor and bearing temperatures and crash events throughout the entire life cycle are monitored and recorded in a report. Through the analysis of this report it is possible to draw conclusions about the causes of some machining failures or unsatisfactory surface finishing results. In addition, it is possible to optimize the machine process and receive recommendations to extend tool and spindle lifetime."
Nadcap accreditation support
The National Aerospace and Defense Contractors Accreditation Program (Nadcap) requires periodic checks of machines, mastery of processes and training curriculum for certified operators. "GF Machining Solutions has designed a suitable service package to support customers during the accreditation process," said the spokesperson. "According to Nadcap specifications, perfectly repeatable EDM machining results require perfect mastery of the electric discharge machining (EDM) spark. GF Machining Solutions' experts measure and document the spark shape, which is essential to guarantee the repeatability of the machine's performance. In addition, dedicated training for operators and maintenance solutions is offered."
Calibration by laser interferometer
"Widely regarded as the best guarantee to ensure that milling, EDM and laser texturing machines perform with absolute accuracy, calibration by laser interferometer is conducted according to VDI 3441/ISO 230-2 specifications," said the spokesperson. "The calibration guarantees that machining runs with absolute accuracy and yields the greatest respect for tolerances in parts production. As part of the service, an expert GF Machining Solutions technician checks the linear positioning of the axes of the machine. If necessary, deviations are corrected by modifying the axis correction tables."
Geometrical control
"Perfectly repeatable machining results require a perfectly accurate starting point: flatness, squareness and parallelism," said the spokesperson. "Even the slightest deviation can threaten the integrity of the machining process and result in wear on machine tool components like guides and ball screws. The geometrical control is conducted according to ISO 230-1 specifications, with an expert service engineer using regularly calibrated tools to measure the precision geometries essential to the performance of GF Machining Solutions milling, EDM and laser machines. Following the geometrical control, the service engineer provides a detailed report of the test results and expert recommendations for optimizing geometrical precision of the equipment. The service is recommended in the case of certain events like a collision or a machine that has been moved, or as certification support to prevent unexpected wear and maintain machines in optimal condition."
Circularity test with ballbar gauge
"This test to rapidly diagnose machine performance is easy and efficient," said the spokesperson. "The aim of ballbar testing is to compare the effective circle path performed by the machine with the programmed circle path. In theory, if the machine behaves perfectly in terms of positioning performance, both circles should match exactly. But in practice, many facts - like machine geometry, control system or wear on various components - can create deviations of the radius of the test circle. A simple comparison of both circles validates the machine accuracy. When deviations are detected, recommendations for precision recovery (e.g., geometrical control, calibration by laser, exchange of components) are provided. The test is recommended each time you want to quickly check positioning performance of a machine, on an annual basis, or in case of a particular event like an upcoming special production or after the machine has been moved. Following the test, reports are issued; they can be customized and have various formats according to international standards like ISO 230-4 or ASME B5-54."
The five advanced preventive services are part of GF Machining Solutions Customer Services' Machine Support, which also includes original spare parts and technical support. Other levels of Customer Services are Operations Support, with a wide range of certified consumables and original wear parts to ensure equipment operates at peak precision and performance, and Business Support, with individual solutions to drive operational excellence: feasibility studies and test cuts, customer training, automation, upgrades, options and accessories and application support.
For more information contact:
Gisbert Ledvon
GF Machining Solutions
560 Bond St.
Lincolnshire, IL 60069-4224
800-CTC-1EDM
gisbert.ledvon@us.gfac.com
www.gfms.com/us