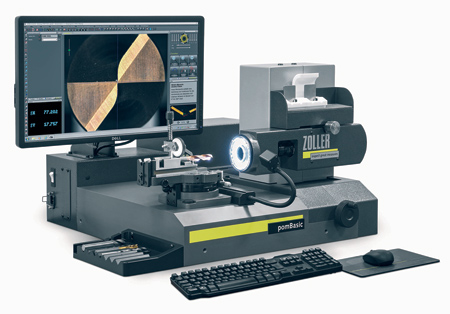
»pomBasic« inspection machine for process-oriented measurement of tools
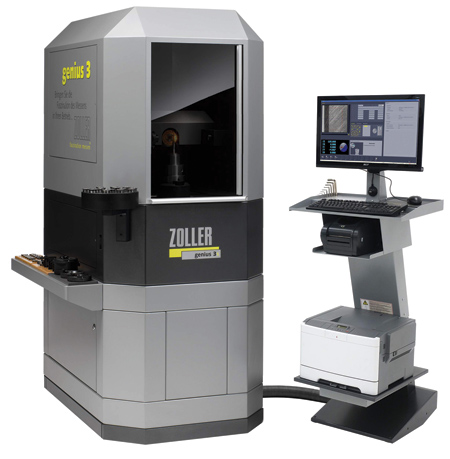
»genius« universal measuring machine for all types of tools
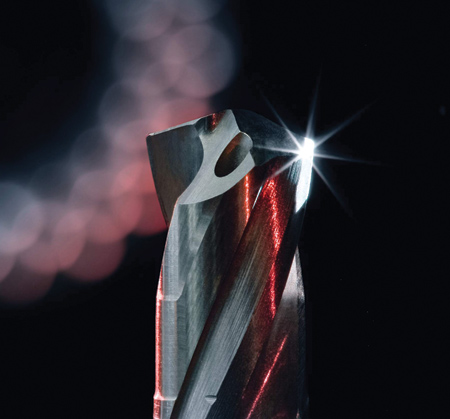
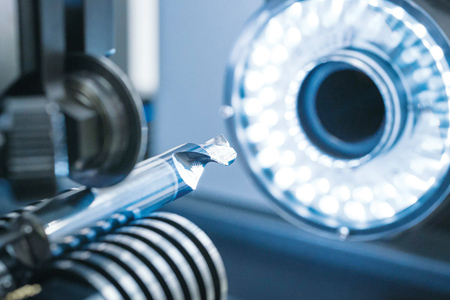
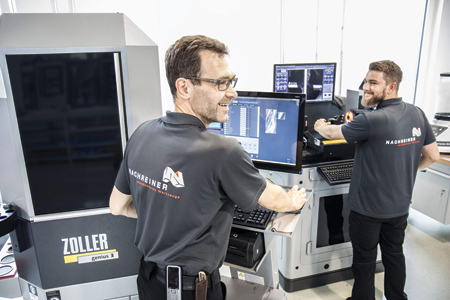
"Speed, quality, flexibility and high performance are requirements tool manufacturers face today," said a Zoller spokesperson. "Simply promising to deliver high-quality precision tools is not enough. More and more, customers expect inspected and precisely documented quality. The »genius« universal measuring machine for comprehensive tool inspection, paired with the »pomBasic« inspection device for process-oriented and fast measurement of individual parameters, are ideal partners. This ZOLLER team not only enables reliable quality control, but also makes manufacturing more networked, faster and more reliable at every step of the manufacturing process."
"Incoming tool inspection, in process and final tool inspection used to be laborious process, but now tools are measured and documented quickly and reliably," continued the spokesperson. "»pomBasic« is the right choice if fundamental tool geometries must be determined."
Because of its space-saving and needs-based design, »pom« can be placed directly next to the CNC grinding machine. This saves time by avoiding trips to the inspection room, for example when quick measurements are required to verify the set-up of the grinding machine. Reports including actual/nominal comparison can be stored company-wide via network and shared via interface with the grinding machine.
"Measuring tools automatically with the »genius« universal measuring machine and saving the measuring results in the database is not enough," said the spokesperson. "Measuring results must be documented in a detailed manner and transferred seamlessly to third party systems. For many years tool manufacturers have utilized the »genius 3« universal measuring machine to document quality features on geometry measured in transmitted light, including detailed parameters resulting from grinding geometry (e.g., end and O.D. geometries on drills and end mills). The daily duties of this universal measuring machine include fast, precise, fully automatic and operator-independent complete tool inspections.
"Interfaces to tool grinding machines for direct data exchange and for automatic correction of the grinding machine are available technical features. High-tech materials and components assure high-quality measuring stability and optimum suitability for the use in production environment, even when not used in an air-conditioned room."
»pomBasic« when used with »genius« is designed to be a true process accelerator. »pomBasic« allows companies to have a fast machine set-up process at the CNC grinding machine. The tool or blank is inspected using the »pomBasic«, and the results are available directly at the CNC tool grinder. During that time, the »genius« measuring machine is free for more complex, sophisticated measurements like rake, core taper and final tool inspection. Measurment tasks at the grinding machine are completed more quickly using the »pomBasic«.
All ZOLLER solutions are based on a common database and allow connection to the grinding machines.
For more information contact:
Zoller Inc.
3753 Plaza Drive
Ann Arbor, MI 48108
734-332-4851
www.zoller-usa.com