Assembly-disassembly
Head cleaning
Tool Cart
Extrusion can be an inherently expensive activity, and it is important to perform tool maintenance to minimize costs as much as possible.
Extrusion processors need to be aware of the following factors in their attempts to be profitable:
- Materials often cost more than labor
- Running a product oversize to hold the minimum tolerance can waste valuable material
- Downtime due to poor or damaged tooling is costly
- It is expensive to keep an extruder running if it is producing scrap.
Appropriate tool maintenance addresses all the above issues. New tips and dies are machined to a determined specification, ensuring concentricity and alignment. It is important to remember that minor misalignment of the tools may result in major problems in the final product.
Another adverse effect of unnecessary die adjustment is the stress introduced to the extrude caused by unbalanced flow. The net effect is the final product retains memory of this imbalance and unpredictable die swell occurs.
Dirty, neglected and improperly adjusted tools contribute to excessive material use. In turn, this complicates the die's ability to maintain a minimum thickness tolerance. The excess material results in unnecessary costs that directly affect the profitability of the company and may in turn, harm a valuable relationship with customers.
Maintenance and cleaning of tooling is necessary and, when one is fully prepared for it, relatively easy. This is an important, controllable function that ensures a quality extruded product that meets dimensional specifications, maintains the specified minimum tolerance, and delivers an economically produced end product.
Preparing for Proper Maintenance
Use a dedicated work cart exclusively reserved and equipped for extruder head maintenance. This cart should have a supply of spare components and hardware. Create a clean, organized work area with soft and clean renewable work surfaces. The work cart should include:
- A vise with jaws of a soft metal, such as copper
- Special equipment, such as tip-removal tools
- Standard tools such as wrenches and soft-faced hammers
- A supply of soft, clean rags
- Spray bottles of cleaning solutions
- Spare parts suggested by the tooling supplier, properly organized and stored (the operator's manual contains a list of these)
- The repair and maintenance manual, provided with the equipment
- A small surface plate for a true, flat surface.
Cleaning Equipment While It is Still Hot
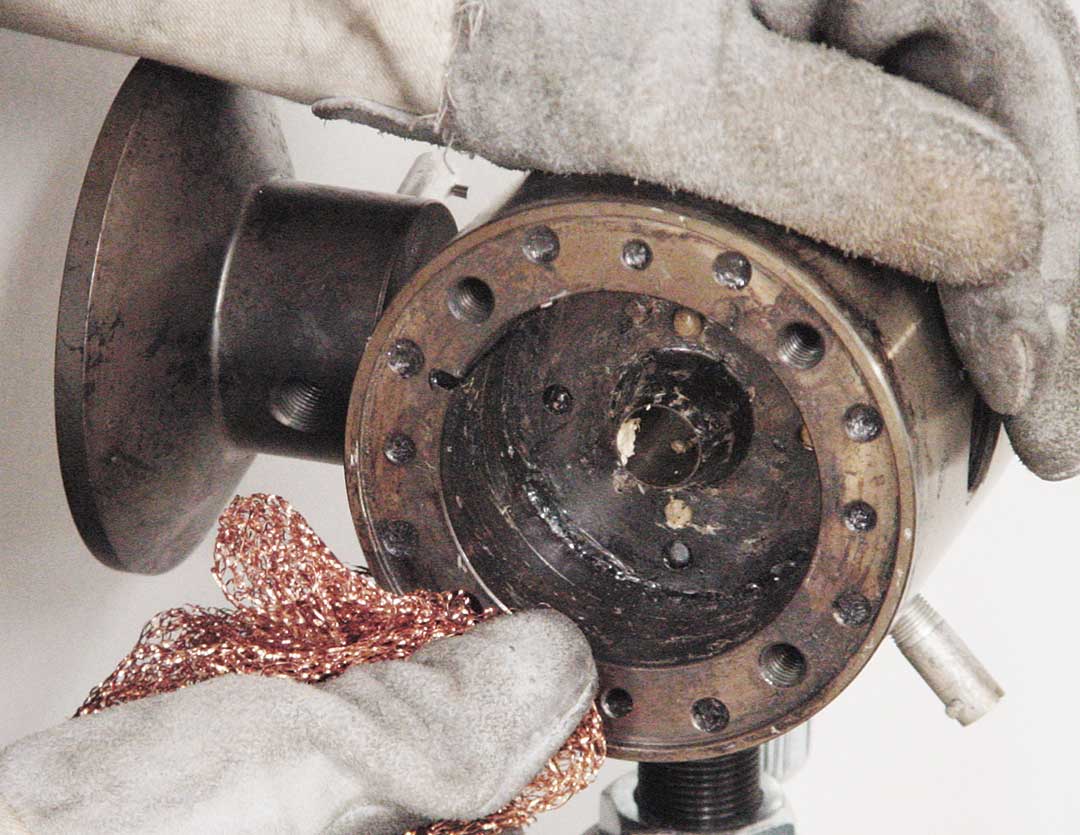
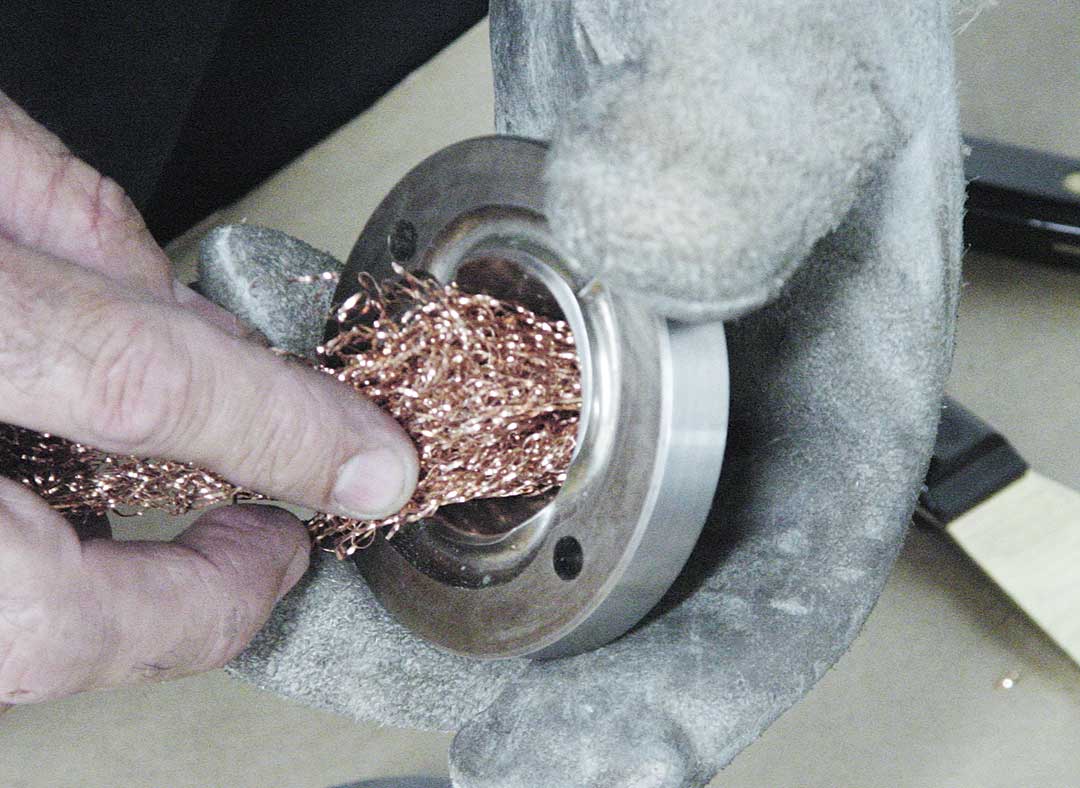
In a die, the core tube goes to the back of the head and is adjustable. It is drawn in and out to adjust the gum space when the material is drawn out of the head. A careful cleaning is critical to ensure a smoother flow transition of the material.
Select tools and materials for cleaning:
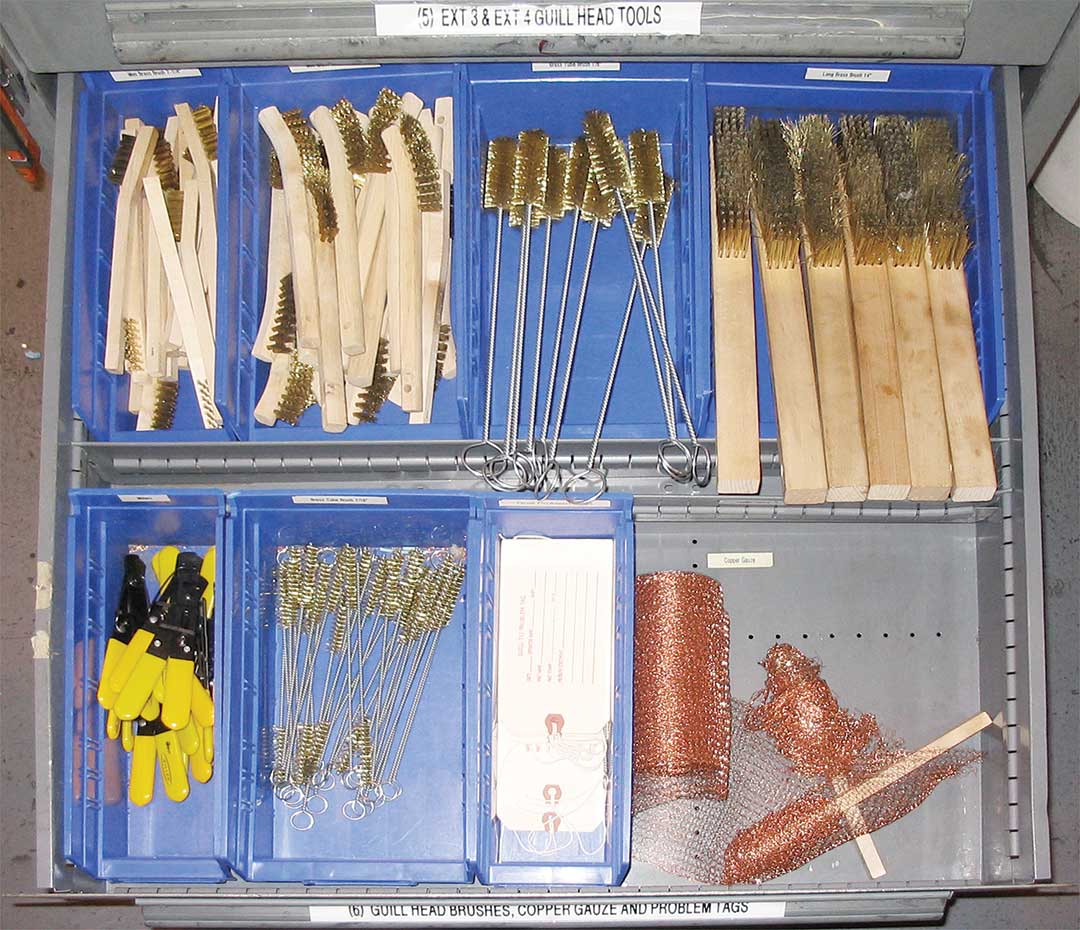
- Brass pliers to grip material and aid in pulling
- Brass scrapers, available in different widths, for cleaning flat exposed surfaces
- Brass bristle tube brushes, available in diameters from 1/16" to 1", in 1/16" increments, ideal for cleaning holes and recesses
- Brass rods — different diameter rods are good for pushing material out of flow holes
- Copper gauze for cleaning and polishing exposed round or conical surfaces
- Copper knives for removing residue from recesses and other hard-to-reach areas
- Polishing compound to restore polished surfaces
- Compressed air, which is more effective for releasing plastic, but also aids in rubber removal. Be careful not to force debris into recesses with compressed air.
- Cleaning solutions may be useful — remember to use fresh, clean rags, as used rags often have metal chips embedded in them, which may scratch polished surfaces.
Make sure to have all the proper lifting aids available, including overhead hoists and hydraulic lifts. In most situations, the head and tooling are still at high temperatures. Therefore, properly lined gloves are needed when handling. Get help for moving heavy parts in awkward situations. Surfaces and edges are hard and therefore somewhat brittle, so dropping a part or striking parts together can result in damage.
Store tools properly in a dry, clean area. A dedicated spot for each tool is best. These areas should have soft surfaces and each instrument should be covered after cleaning. Tools should be segregated so that they do not come in contact with each other. Clean all instruments thoroughly before storage.
For disassembly of tooling, it is imperative to use purpose-built tools to facilitate disassembly. These should be available from a tooling supplier, but if they are not, consult with a reputable tooling house for replacement.
Check the Operator's Manual
Follow the guidelines outlined in the operator's manual. Individual tools may have specific recommendations, so contact your supplier if anything is unclear. They understand that optimum performance relies upon proper care and maintenance, so they will readily assist.
Here are some useful tips:
- Clean equipment while it is still hot, since residue will be easier to remove. It helps to remove and clean one piece of tooling at a time, to maintain elevated temperatures.
- When cleaning dual-compound crossheads, such as plastic and rubber, always clean the plastic tooling first and the rubber tooling second.
- Never use steel tools such as scrapers or screwdrivers. These can scratch and mar the tooling.
- Do not use open flames. This generates excessive heat, especially in thin sections, which can affect hardness, concentricity and tolerances of components.
- Cleaning oven — use for plastic only, not rubber. Follow the manufacturer's recommendation. If no temperatures are specified, do not exceed 850 °F and do not quench the tooling to cool, because this could affect the hardness, concentricity, and tolerances of the tool parts.
- For cleaning materials, several compounds are available to purge the extruder screw and barrel of residual polymer. This helps considerably in the final cleanup.
Die components, especially those with sealing and locating surfaces, are key to performance and successful end products. These surfaces received the most care and attention during manufacturing and are the control surfaces that ensure uniformity throughout. Precision-machined alignments are affected by even a speck of dirt measuring only a couple thousandths of an inch. A human hair is about three thousandths of an inch in diameter and, since there are many such surfaces in a high-quality tool, cleanliness is critical.
It is important to check tools for deformities. Burrs, scratches, and scrapes are usually a result of careless handling and/or storage of equipment.
When compared to single-layer heads, all multilayer extrusion heads pose an even greater challenge for maintenance. The number of sealing and centering surfaces multiplies and can magnify the result of dirty tools.
During changeovers, the head may be disassembled to change compounds and/or tips and dies.
Foreign matter is usually introduced at this time, and residual materials must be thoroughly removed.
Physical tool damage often occurs during this phase due to mishandling and poor storage techniques. These are highly precise parts but can also be heavy and bulky to remove by hand.
Make Repairs as Needed
Examine all surfaces for any irregularities such as burrs and scratches, since these must be repaired before the head is reassembled. Most manufacturers recommend using a hand polishing stone to remove the burrs present. Follow stoning with an application of a 600-grit emery cloth if necessary, but avoid rounding edges that are intended to be sharp.
Flat sealing surfaces can be cleaned using a stone, followed by a 600-grit emery cloth. Place the cloth on a clean, flat surface, preferably a surface plate, and then apply friction in a circular hand motion until the area is clean and even. The parts in question should all be hardened steel alloys and will not be adversely affected using these methods. Inconel, Monel, and Hastelloy are typically not heat-treated, requiring special care and handling to avoid any damage.
Putting It All Back Together
Working from the dedicated tool cart, follow the die manufacturer's instructions for reassembly. Give each component a final wipe down with a clean rag before installing. Even the smallest amount of grit, dirt and residual material must be removed.
Use either mechanical or manual assistance for heavy and awkward components to avoid unnecessary mishaps. Reapply anti-seize compound to all fasteners, if required.
Tighten fasteners to the manufacturer's recommended specification, as well as in the recommended sequence. This fastening sequence should be specified in the manual and is generally in a star pattern, tightening gradually until the proper torque is achieved. This prevents distortion of the tooling.
One of a die manufacturer's main goals is to form a concentric cone of compound as quickly and accurately as possible in the primary section of the die, when the extrudate first emerges from the die's distribution capillaries.
A properly designed and manufactured die has even distribution close to the extrudate entrance point, but this effort is negated once the die is adjusted, shifting the extrudate off to one side. An eccentric cone is formed in the primary area and a concentric cone exits at a point in the process, rather than a smooth, continuous flow path with decreasing volume. A properly manufactured and aligned extruded head, along with well-maintained tooling, should require little or no adjustment.
Authored by Glen Guillemette, President, Guill Tool & Engineering
For more information contact:
Guill Tool & Engineering
10 Pike Street
West Warwick, RI 02893
401-465-5526
websales@guill.com
www.guill.com