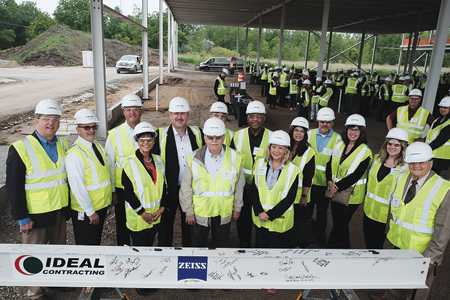
ZEISS celebrates steel construction completion of new Michigan facility.
With the Steel Topping Out event, ZEISS has completed the steel portion of its site near Detroit. The new facility for the Industrial Quality and Research (IQR) segment of ZEISS, represented in the U.S. by Carl Zeiss Industrial Metrology, LLC, is scheduled to be complete in June 2020 and will consolidate four existing Michigan facilities into one location. The site will bring a modern work environment for almost 170 employees and a more advanced setting for customers to gain better insights in the smart age of quality assurance.
"It was a great day celebrating this construction milestone with local officials and team members. We are investing for our customers, employees and the Michigan area, all while focusing on what is best for the future," explained Michael Kirchner, member of the leadership team for the ZEISS Industrial Quality Solutions strategic business unit and head of its business in North America.
Customer Center Brings a New Stage for Digital Quality Assurance
The need to show how digital platforms and solutions connect ZEISS equipment to the new infrastructure within modern smart factory environments is becoming increasingly important. The new setting will provide an advanced digital structure to more easily demonstrate quality assurance insights for customers and demonstrate smart factory capabilities. Spanning over 80,000 sq. ft. with two floors, the new center will provide a broad portfolio of dimensional metrology and inspection equipment and services to a wide variety of industries. ZEISS measuring specialists will be able to perform proof-of-capability demonstrations for multidimensional measurement equipment, surface form and geometry equipment and non-destructive testing and surface defect detection equipment.
A Smarter Working Environment for Better Results
In addition to a better stage for customers, the new facility will also lend to better results with a more open and multifunctional work setting. From system demonstration labs to team collaboration areas to individual focus rooms, there are choices to get the most effective results, more easily. Digital experience rooms will facilitate better communication between team members and customers. Additional demonstration space will allow employees to more easily perform proof-of-capability demonstrations for multidimensional measurement equipment, surface form and geometry equipment and non-destructive testing and surface defect detection equipment.
It will also be a center for aftermarket sales support. Customers will receive training on how to use the software and systems. Additionally, software help desk services will operate out of the facility.
For more information contact:
Carl Zeiss Industrial Metrology, LLC
6250 Sycamore Lane N
Maple Grove, MN 55369
763-744-2400 / 800-327-9735
info.metrology.us@zeiss.com
www.zeiss.com