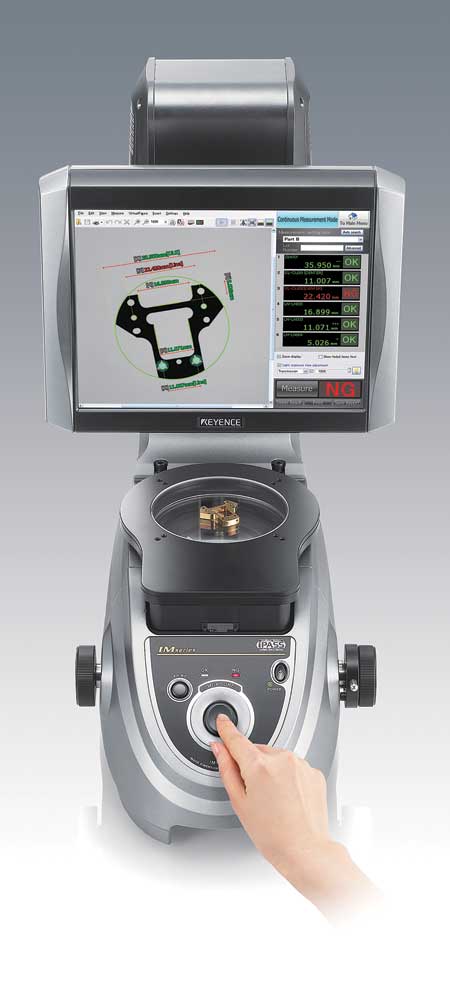
1: The IM series dimensional measurement vision systems from Keyence is designed to automatically measure a wide variety of parts with the push of a button.

Leatherman Tool Group, a producer of multi-tools, uses Keyence's IM series to inspect parts at various stages of the production process.

Keyence is a provider of the IM series dimensional measurement vision systems.

Leatherman Tool Group uses Keyence's IM series to inspect parts during production of its multi-tools.
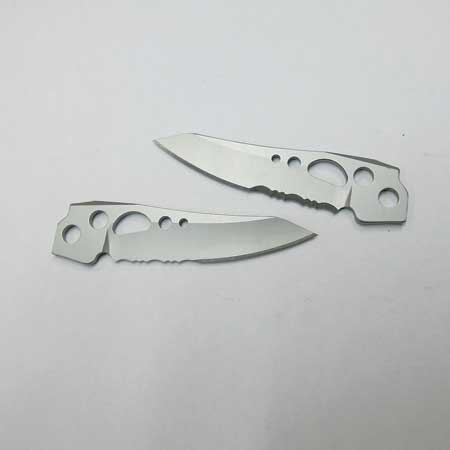
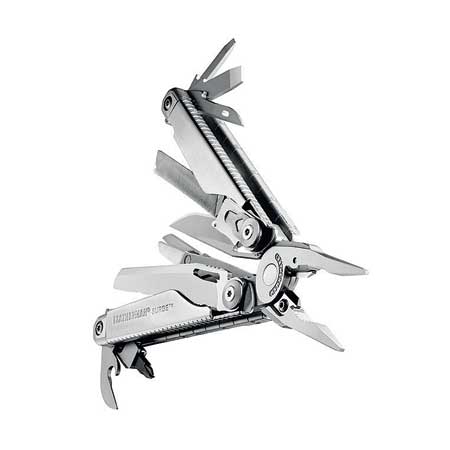
Keyence Corporation is a provider of the IM series Image Dimension Measuring System. One company that has benefited from the IM series is Leatherman Tool Group, Inc., in Portland, OR. Leatherman produces multi-tools, instruments that may contain screwdrivers, knives, files and other tools in a single unit. Some of these tools are small enough to fit on a keychain.
"We produce a lot of parts from start to finish," said Leatherman Gauge Technician David Knight. "We do not have a foundry here, so for cast parts we receive blanks and we do the machining. For most of our steel parts, we get rolls of steel, blank them, machine them, heat treat them and then assemble them."
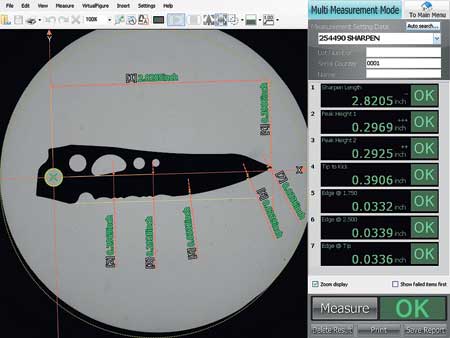
Leatherman uses measuring equipment ranging from micrometers all the way up to a coordinate measuring machine (CMM) to inspect parts at various stages of the process, including sampling of incoming lots, first-article inspection and production quality assurance. The company recently began using the IM series dimensional measurement vision systems from Keyence throughout its plant to quickly measure multiple features of a variety of parts. Users place a target part on the IM system's stage and press the button. The system then automatically measures up to 99 points in a matter of seconds with repeatability of +/-1 micron. "The speed, flexibility and ease of programming and use of Keyence IM series systems make them ideal for inspection of Leatherman's large variety of parts," said a Keyence spokesperson.
"I do a lot of programming for the IM systems, and for simple parts I can have a program in 10 minutes," said Knight. "Even for the most complex parts we inspect on the Keyence, I can have a program done and evaluated in an hour or two. We have dozens of programs on our three IM systems that measure up to 50 features on some of our more complex parts. But for me, the best thing about the systems is their production inspection capability. They are easy to use. There is no chance of operator error - operators just place the part on the stage and push the button. It is a big time saver, and knowing that everybody is going to get the same measurements when they use the system provides peace of mind."
The Keyence systems replaced hard gauging that Leatherman used for many years to evaluate components for its multi-tools, eliminating cabinets full of hard fixtures built for specific parts. "Getting a fixture designed and fabricated in the company's machine shop could take weeks, but the Keyence systems enable Leatherman to get parts up and running with full inspection capability in a matter of minutes or hours," said the spokesperson. "The systems also easily handle Leatherman's tolerances, which are important to proper assembly and function of its multi-tools."
"There is a lot of interaction between the parts we make," said Knight. "Our parts all have to fit together in one tool, so tolerances are tight, most commonly +/-0.001 inches and +/-0.003 inches. Hole position tolerances are especially important."
According to the spokesperson, training Leatherman personnel to program and use the IM systems has also been fast and easy. Knight said operators can be trained in just a few minutes, enabling them to check parts themselves rather than bringing them to the quality department for evaluation. The location of Leatherman's three IM systems near machining centers, stamping presses and other production equipment on the shop floor also facilitates first-article inspection, process control and troubleshooting.
"We were looking for new technology to improve our measurement capabilities," said Knight. "Keyence was one of the companies we contacted. They demonstrated the IM system, we liked it, and we bought it. Now we have three of them, and we are looking to add another system with a larger stage next year."
For more information contact:
Keyence Corporation of America
1100 N. Arlington Heights Rd., Ste. 210
Itasca, IL 60143
888-539-3623
tech@keyence.com
www.keyence.com
www.keyence.com/LMIM
www.leatherman.com